- Not a substitute for professional veterinary help.
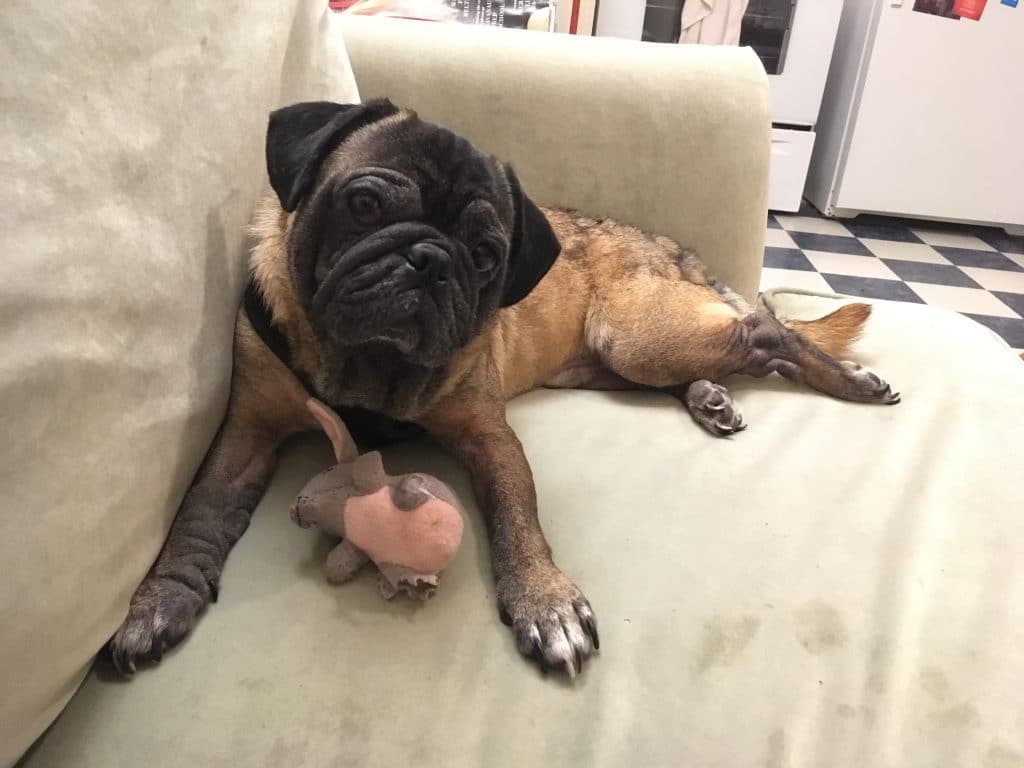
My new foster dog, Oshi, is so stinking cute, but he came to me with severely overgrown toenails. All I wanted to do was cuddle this adorable pug, but his long nails scratched me when he tried to scramble into my lap. I needed to do something to get his claws under control, but Oshi was super-sensitive about having his feet handled.
So, how am I supposed to trim this dog’s overgrown nails?
Why long nails are a problem
As explained by the American Kennel Club (AKC), overgrown dog nails can cause discomfort and health issues. When nails are long enough to tap-tap-tap along the floor, they may cause the toes to splay and put uncomfortable pressure on the foot and leg structure.
Over time, overgrown dog nails can lead to tendon injuries and even deformed feet. Even if your dog’s overgrown nails aren’t causing health issues, they are just plain uncomfortable for your dog.
You can’t simply chop off an overgrown dog nail because at the center of the nail is a collection of nerves and blood vessels called the “quick.” As a dog nail grows, so does the quick. A dog with overgrown nails will have a longer quick, making it difficult to trim the nail back to appropriate shortness. But that doesn’t mean your dog is doomed to have long nails forever.
The key to trimming overgrown dog nails is to encourage the quick to recede by trimming gradually, according to Dr. Karen Gellman at Dogs Naturally Magazine. After the initial trim of the tip of the nail, trim a little bit at a time on a regular cadence—about once a week—and the quick will recede, making it easier to keep your dog’s nails short.
Keeping your dog’s nails a healthy length contributes to their overall health and well-being. With that in mind, these are the steps to trim overgrown dog nails.
Step one: Make your pooch comfortable
If your dog hates having their nails trimmed, the first step is to overcome their fear of the necessary nail-trimming tools. Like any desensitization training, this can take time. Bring out the clippers and let your dog investigate. As they sniff the clippers, reward them with a treat. Repeat this over several sessions for a few days until your dog is happy to see the nail trimming tools come out. The goal is to generate a positive association.
If you plan to use a rotary nail grinder, or Dremel, to shorten your dog’s nails, you’ll want to follow the same process. Dremels can be noisy, so work on increasing your dog’s tolerance to the sound, rewarding them every time you turn it on.
Remember to be patient. Some dogs learn quickly that the presence of the Dremel and clippers = treats. Some dogs take a little longer to adjust, especially if they’ve had bad experiences with nail trimming tools in the past. Over time, they’ll get more comfortable.
Step two: Get in nail trimming position
It’s best to trim your dog’s nails when they’re relaxed and comfortable. It helps to have a second person there to hold, pet, and distract the dog. If your pooch is small, you can hold them in your lap. Just make sure you have a good view of their nails—never cut blindly.
Once you’re in a safe position, lift your dog’s paw. Hold it close to their body to prevent them from pulling it away. You can squeeze the paw and lift one of their toes from underneath to separate out the nail you plan to trim.
Step three: Locate the quick
Before you take the clippers or grinder to an overgrown nail, look at the nail in the light to identify the quick. On dogs with light-colored nails, the quick will appear as a darker, pinkish section within the nail.
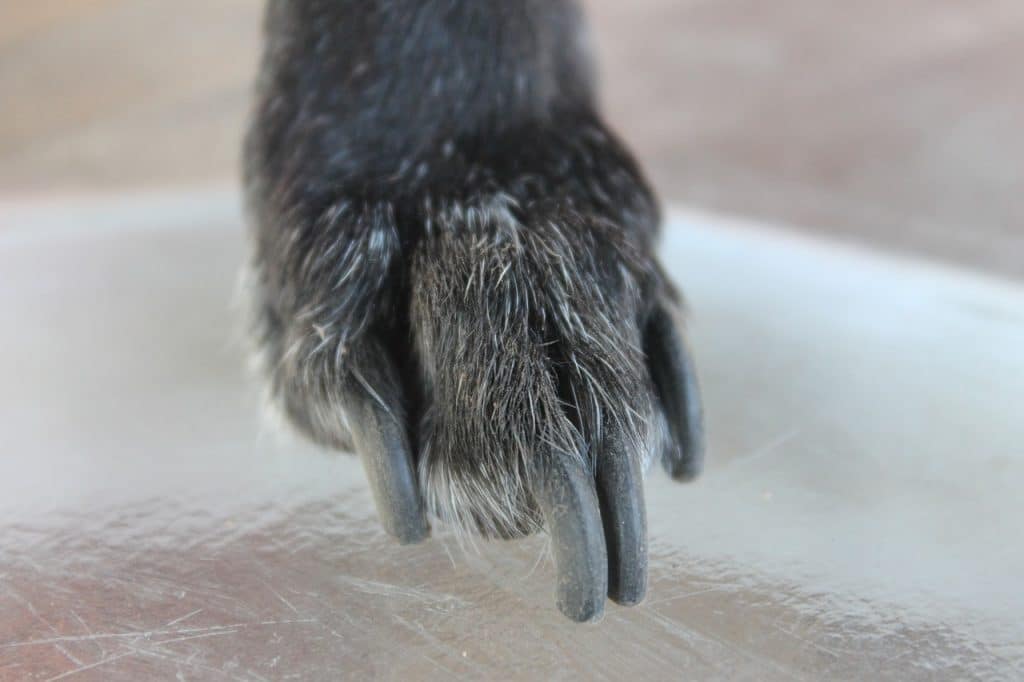
If your dog has dark nails, it may be harder to estimate where the quick begins. In that case, trim very small bits of the nail at a time. After making a cut, look at the tip of the nail. As explained by the Washington State University veterinary school, as you cut the nail deeper, you’ll be able to see a grayish-pink oval appear at the top of the cut surface. You may also see a small black dot in the center of the white portion. At this point, you’re getting close to the quick and should stop cutting.
Step four: Trim or grind the nail quickly, safely, and confidently
Once you’ve gotten in position, isolated a nail, and located the quick, it’s time to start trimming. Using your preferred clippers, trim a very small bit of nail at a time. Cut at a slight angle across the tip of the nail, following its natural shape. After each cut, look at the freshly-cut tip of the nail to look for the little black dot that tells you when to stop.
Trim nails in a quick and safe motion, and try to relax. If you hesitate too much, your dog may pick up on your nervousness. On the other hand, if you rush through it, accidents are more likely. Trim efficiently, but take breaks when necessary. And be sure to offer your dog lots of praise and treats to continue building a positive association with nail trims.
Step five: Take your time, and repeat regularly

Oshi before his nail trim
You’ll repeat the above process for every nail. However, if you’re new to trimming your dog’s nails, don’t expect to get them all at once! In fact, you may end up waiting a few minutes, or even a whole day, in between nails.
When I first started trimming Oshi’s nails (pictured above), I only did one at a time. In fact, I started by trimming the very tip of his overgrown dewclaw while he was asleep!
For dogs with overgrown nails, nail trimming is a gradual process. As the quick recedes, it becomes more obvious how much nail to trim at once. Handle your dog’s paws regularly, and try to trim their nails once a week. Soon, nail trimming will be just another part of your routine.
What to do if you cut the quick
Cutting the quick is ouchie for your dog, but it’s not the end of the world. And sometimes, with overgrown dog nails, it’s an easy mistake. Here’s what to do if you cut the quick:
- Stop the bleeding with styptic powder (cornstarch might work in a pinch).
- Give your dog lots of praise and treats for being calm.
- Then, take a break, or even quit for the day. You and your pup both need time to relax and recover.


