- Not a substitute for professional veterinary help.
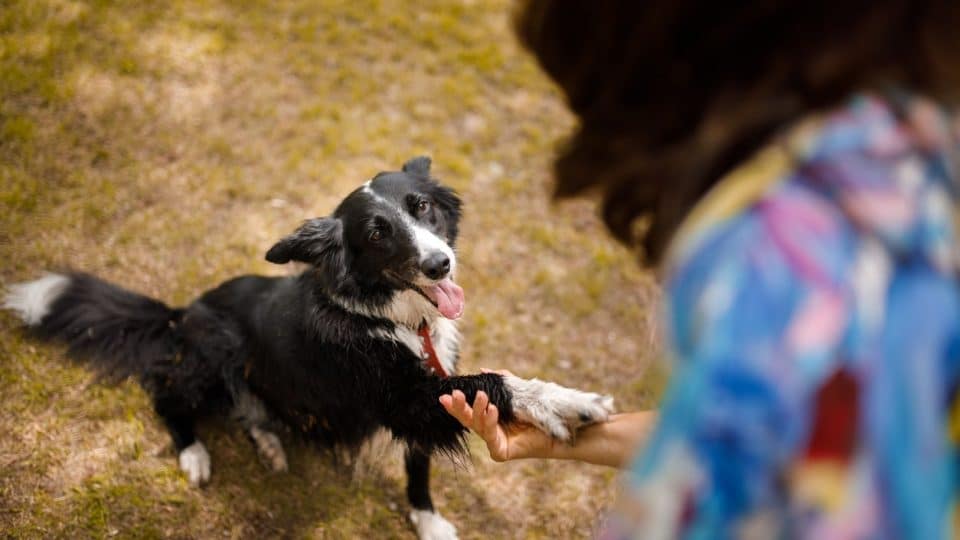
Training is a great way to strengthen the bond with your dog while keeping them mentally stimulated. It’s also a relatively easy behavior to teach for dogs of all ages.
But shake can be more than just a cute trick. It can also be used as a way for your dog to consent to nail trims or any paw handling when needed, including at the vet, says Jen Zatorowski, UW-AAB, CPDT-KA, a certified dog trainer on Rover.
Read on to find out how to teach your dog to shake paws, plus some expert troubleshooting tips.

What You Need To Teach Your Dog To Shake
Luckily, teaching a dog to shake hands requires little to no equipment. Here are the few things you’ll need to have ready:
- High-value training treats
- A clicker or marker word (to capture the exact moment your dog does what you want)
- The cue you’ll be using (shake, paw, etc.)
It’s also helpful if your dog already knows how to “sit” and “stay,” but these cues aren’t essential.
Step 1: Build The Initial Behavior
The first step is to start shaping the “shake” behavior. To do this:
- Have your dog sit in front of you.
- Place a treat in your hand and cover it with your fingers.
- Extend your hand toward your dog with your palm facing up.
- Wait for your dog to try to get to the treat. They’ll likely sniff or lick your hand first. Be patient and hold out until your dog paws at your palm, then mark the moment right away with a click or “yes!”
- Open your hand, and give them the treat.
- Practice until your dog starts to understand that pawing your hand is what earns them the reward.
Alternative steps
If your dog isn’t pawing your hand, you can use a treat lure to build the behavior. Here’s how:
- Have your dog sit in front of you.
- Hold a treat in your hand.
- Move it above your dog’s head and a little to the side so they automatically lean and lift a paw off the ground.
- Once their paw is off the ground, click or mark with a “yes!”
- Immediately give your dog a treat.
- Gradually work on getting your dog’s paw higher off the ground, marking and rewarding each time it does.
- Eventually, their paw will be high enough for you to put your hand under it. Once this happens, you can start marking and rewarding once their paw makes contact with your hand.
- Again, practice until your dog understands that pawing your hand is what earns them treats.
Step 2: Add the Cue
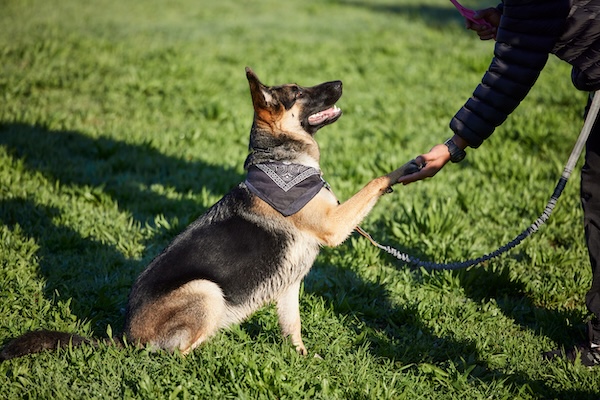
Once your dog is reliably placing their paw in your hand (at least four out of the five times you offer it), you can start adding the cue. To do this:
- Say your cue (“shake” or “paw”) right before you present your hand.
- Once your dog touches their paw to your palm, click/mark and give them the treat.
- Practice this until you’re confident your dog will perform the behavior (again, at least four out of five times).
PeopleImages via iStock
Step 3: Fade the Initial Treat
Now that your dog is consistently pawing your hand when you present it to them with the cue, you can fade out the initial treat in your hand. Instead:
- Say your cue.
- Present your hand palm up without the treat.
- Once they place their paw in your hand, immediately click and mark the behavior.
- Reward with a treat from your treat pouch.
Step 4: Increase Duration
When your dog is reliably putting their paw in your hand on cue, start increasing duration by following these steps:
- Say your cue and present your hand palm up.
- Wait a second or two after your dog places their paw in your hand before clicking/marking and rewarding.
- Keep practicing the step above, gradually adding seconds to your time between the moment your dog puts their paw in your hand and when you mark and reward.
Step 5: Add Pressure & Movement
Once your dog can be cued to put their paw in your open hand without moving it away, you can start adding gentle pressure and movement. To do this:
- Say your cue and present your hand.
- When your dog gives you their paw, gently close your hand around it, then mark and reward.
- Continue this until your dog becomes accustomed to the pressure.
- Next, start adding up-and-down movement after you gently hold their paw. Mark and reward until they become accustomed to this, too.
If at any point your dog shows discomfort, back up to where they were successful and work from there. This could look like clicking and rewarding for half of your hand closed around their paw, then clicking and rewarding for your full hand enclosing their paw, and so on.
Step 6: Shake With Both Paws
Your dog will likely give you the paw that’s closest to the hand you present them. If you’d like to teach your dog how to shake with both paws, here’s how you can do it:
- Use the steps above to teach your dog how to shake with each paw.
- Only mark and reward when your dog offers to shake the paw closest to your hand.
- Add a different cue for each paw. For example, when you hold out your left hand and they give you their right paw, you could say “paw” or “right paw.” When you hold out your right hand, and they give you their left paw, you can say “other paw” or “left paw.”
How To Fix Problems When Teaching “Shake”
Not all dogs learn to shake paws right away—some need extra help. Here’s how to troubleshoot common challenges.
Your dog doesn’t want to give you their paw
If your dog seems anxious about giving their paw, stay calm and patient. Don’t ever force their paw or scold them, as this will only add extra stress. Instead, keep your sessions positive, fun, and low-pressure. If your dog hesitates to give you either of their paws, schedule a vet visit to check for signs of pain that could be affecting your dog’s mobility.
Training sessions are frustrating
Training comes with bumps in the road. If you or your dog get frustrated, it’s okay to take a break and reset. Returning with fresh energy makes learning more enjoyable and effective for both of you.
Your dog is constantly distracted
Train in a quiet, distraction-free area like a closed room with no other pets or noises. If distractions still creep in, consider using a leash to keep your dog from wandering. You can also switch to high-value treats to grab their attention and make training more exciting. This is especially effective for puppies.
Your dog isn’t making contact with your hand
“Some people may inadvertently reward when the dog paws at and makes contact with their pants, then the dog repeats that behavior versus a paw in the hand,” says Zatorowski. “Be sure to reward the behavior you want,” she adds, noting that this includes gradually breaking it down to simple steps to get to the end goal.
When a Trainer Can Help With Trick Training
Zatorowski says that professional dog trainers can help pet parents use trick training to meet their dog’s innate behaviors and needs. For instance, an expert could help you use a target cue to build a reliable recall or loose-leash walking.
She adds that trainers can also provide insight on timing and accuracy, catching when dogs are being inadvertently rewarded for the “wrong” behavior. They’ll break different techniques down, explaining how to “shape” the trick (breaking it down in small steps) versus “capturing” it (rewarding your dog when they do it on their own).
For help with your trick training needs, reach out to a local dog trainer for a comprehensive training plan tailored to your unique pup.