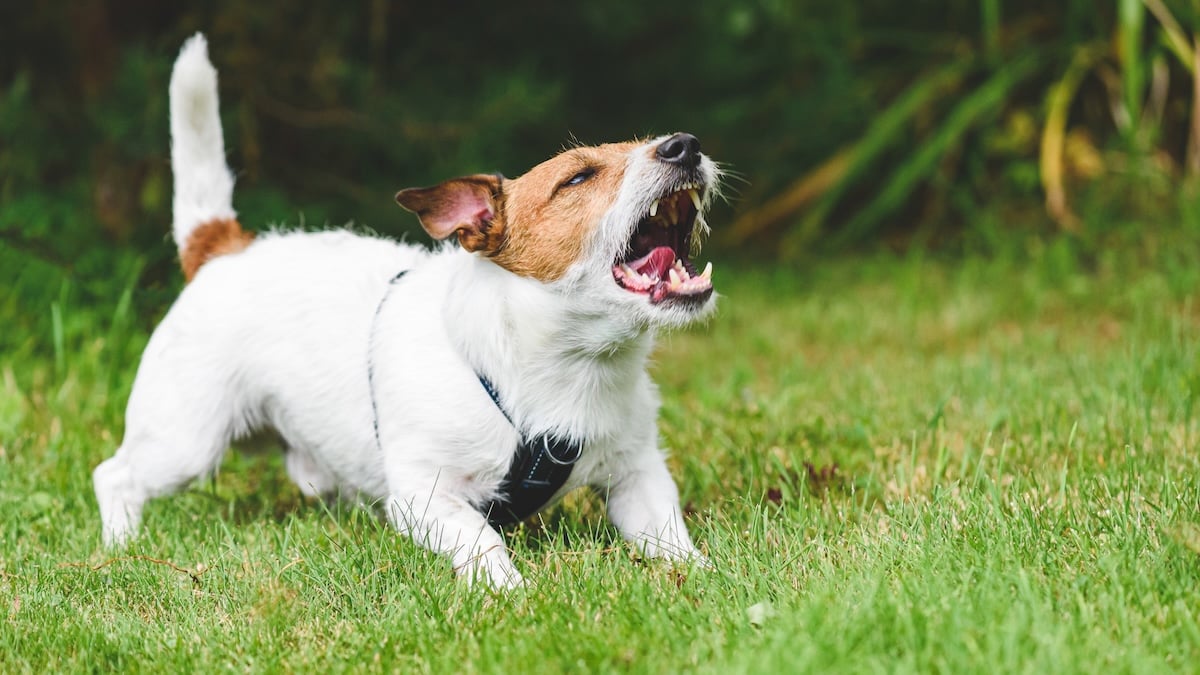
How To Use Different Types of Dog Harnesses, Collars & Leashes
Pet sitters and dog walkers encounter a huge array of harnesses, collars, and leashes in their day-to-day work. Even seasoned sitters can struggle to make heads or tails of all the different types of gear out there.
Taking time to familiarize yourself with the main styles is a great way to help keep yourself and the pets in your care safe, reducing the risk of everything from inconvenient tangles to escapes and common walking injuries.
To help, we’ve gathered a list of the gear you’re likely to come across—plus harness, collar, and leash tips for fitting and putting them on safely.
Harnesses
Harnesses come in a wide range of styles, but the ideal fit is almost always the same: snug but not restrictive, allowing you to fit two fingers between the harness and the dog’s body.
Step-in harnesses
Step-in harnesses are a style you’ll see a lot, especially with your smaller doggy clients. These harnesses often look like a padded vest, though they can sometimes have a strappy design. Either way, the harness will have two arm holes or loops for the dog’s legs. The D-ring (or leash attachment point) is typically at the back.
To put on a step-in harness:
- Lay it flat on the ground with the chest strap in the center.
- Have your Rover pup step their front legs into the openings.
- Once their front legs are in, lift the harness around their body and fasten the buckles.
- Attach the leash through the D-rings on the back.
Additional tips:
- Be careful not to put the harness on upside down—in most cases, the D-ring is on the back.
- Avoid lifting the dog into their harness, as this can cause fear in dogs sensitive to handling. Instead, encourage them to do this voluntarily with praise or treats.
Over-the-head harnesses
Over-the-head harnesses are designed to slip over a dog’s head, with adjustable straps that secure around their torso. They’re a popular pick for bigger dogs, as they tend to provide more control than a step-in harness. You can spot these harnesses by their central head loop; this will be flanked by body straps that buckle behind the dog’s front legs.
The leash attachment point may be located at the back of the harness or at the dog’s chest—or both! Like the step-in harness, these can have a vest design, a minimalist strap design, or a combination of the two.
To put on an over-the-head harness:
- Hold it in front of the dog.
- Have them put their head through.
- Fasten the straps around their body.
Additional tips:
- If your Rover pup is still getting used to their over-the-head harness, avoid forcing it on; be patient and use treats for positive reinforcement.
- It also helps to make sure the neck straps are at their maximum length so they slip easily over the dog’s head.
No-pull and front-clip harnesses
To identify a no-pull harness, look for a D-ring located on the chest panel, rather than the back. This unique placement discourages pulling by redirecting a dog to the side and breaking their forward momentum. These harnesses typically have a head-in design, but some may also feature a step-in style.
To put on a front-clip harness:
- Make sure it’s oriented correctly. Many models use different colored straps to help handlers with placement.
- Gently secure the straps around the dog’s neck and under their torso.
Additional tips:
- If the harness has both a front and back attachment, consider using the front clip for better control (unless the dog’s owner says otherwise).
- During walks, be mindful that the leash can easily become wrapped around the dog’s legs.
- Avoid using a longline with front-clip harnesses; they can also become tangled.
H-shape harnesses
H-shaped harnesses feature two loops: one encircling the chest and another behind the front legs. These are connected by straps over the back and under the belly, creating an “H” shape when viewed from above. They can come in step-in or over-the-head styles. The leash attachment point is typically on the back, but some designs also include a clip on the front.
To put on an H-shape harness:
- Place the smaller loop over the dog’s head.
- Have the dog step through the larger loop.
- Bring the larger loop straps under the ribcage and attach them at the back, behind the front legs.
Additional tips:
- H-shaped harnesses can restrict shoulder movement or cause chafing if they’re not fitted correctly. Use the two-finger trick to ensure the harness isn’t too tight or restrictive.
Y-shape harnesses
These harnesses create a “Y” shape on the dog’s chest. They have a strap that runs down the dog’s front, with loops around the neck and chest, just behind the front legs. You can find the leash attachment on the front, back, or sometimes both.
To put on a Y-shape harness:
- Place the neck loop around the dog’s head.
- Take the straps from the Y-shaped chest plate and strap it around the dog’s back, behind the front legs.
Additional tips:
- Most Y-shaped harnesses go over the head; if your pup dislikes this, be patient and use lots of treats and encouragement.
- Y-shaped harnesses offer greater freedom of movement but can be less secure, so you’ll want to ensure a proper fit (using the two-finger method to check it’s snug without restricting movement).
Head collars
Head collars are useful tools for managing pulling and improving control during walks. These unique collars have two loops: one that fits around the dog’s neck and another that encircles the muzzle. Usually, the leash attachment will be under the chin.
To put on a head collar:
- Hold the collar in one hand and guide the dog’s nose through the muzzle opening.
- Secure the straps high around the dog’s neck, just behind their ears.
- Fit is especially important here—you should only be able to fit one finger under the neck strap, and it shouldn’t rotate. If it does, the nose strap may shift, too, potentially causing chafing in this sensitive area.
Additional tips:
- Head collars require a gentle touch, not force; apply only light pressure and avoid snapping or jerking the leash to protect the dog’s neck and spine.
- Avoid using a head collar during vigorous activities like running or hiking, and don’t pair it with a tie-out or a retractable leash.
Car harnesses
If you’ll be transporting your Rover pups in your car, your client may leave you with a car harness. Designed specifically for vehicle use, these harnesses resemble ordinary harnesses in most respects. Many have thick straps, padded chest plates, and a Y-shaped design. Where they differ from regular harnesses is the addition of a seatbelt attachment.
To use a car harness:
- For some models, you’ll thread the seatbelt through a loop integrated into the back of the harness.
- With other designs, you’ll attach the harness to a buckled seatbelt via a separate carabiner. (Be careful to attach the carabiner to the harness’s designated seatbelt strap, not the leash attachment, which isn’t as strong.)
Additional tips:
- While most car harnesses can fit any vehicle, they are not universally compatible. It’s always wise to check your ride before bringing your Rover pup along.
- Never leave a dog alone while buckled in, as they could get tangled in the seatbelt strap.
Collars
Like harnesses, dog collars come in various styles and serve different functions. Here’s what to know.
Buckle collars
A standard, flat buckle collar will be the collar of choice for most Rover pups. These lie flat against a dog’s neck and often have a quick-release buckle, making them easy to put on and take off. Nylon is the most common fabric, but you’ll also see collars in polyester, waterproof biothane, and other materials.
Helpful tips:
- If the collar can slip over the dog’s head, it’s too loose. If you have to force your fingers under the collar, it’s too tight. You should be able to fit two fingers between the collar and the dog’s neck.
- To adjust the loop size, feed the fabric through the tri-glide slider.
- Always keep a close eye on dogs prone to slipping out of collars, especially nervous dogs, puppies getting used to wearing equipment, and lean breeds like Whippets and Greyhounds.
Martingale collars
Martingale collars resemble traditional flat collars but feature an additional smaller loop. This double-loop design allows the collar to tighten gently if a dog pulls, preventing them from slipping out without posing a choking hazard. They can be made entirely of nylon or feature a metal chain for the second loop. Many models are wider than standard collars and either feature a quick-release buckle or slip over the head.
Helpful tips:
- When paired with a safety clip attached to a harness, a martingale collar provides extra security.
- It’s often recommended to walk a dog with a harness and not rely solely on a martingale collar.
Smart collars
Smart collars look like regular collars with the addition of a small, rectangular electronic component. These collars connect to an app that can track the dog’s location, walks, and other health-related details, such as calories burned, sleep quality, and skin conditions.
Many services allow multiple users to share access, so check with your clients to see if they’d like to add you to their account. This shared access makes it easier to provide updates on walks and activities.
Helpful tips:
- These collars need to stay charged. If you’re liable to forget, set reminders for regular battery checks.
- Be aware that tracking may be spotty in remote areas.
- Not all models are fully waterproof, so handle them carefully around water hazards.
Elizabethan collars
Elizabethan collars are used after surgery or injury to prevent dogs from fussing with their wounds. Standard collars from the vet are typically made of clear, flexible plastic, but your client may opt for a more comfortable material, such as fabric, mesh, or inflatable vinyl.
Helpful tips:
- It’s a good idea to keep your Rover dog’s “cone of shame” on 24/7—even at bedtime, unless otherwise instructed by their owner.
- If approved by your client, remove the collar for meals, but only under strict supervision. Alternatively, you can provide the pooch in recovery with elevated food or water bowls or hand-feed them.
- Remove obstacles, like coffee tables, until the cone comes off. If your Rover dog has difficulty navigating your house while wearing the E-collar, consider guiding them through hallways and up staircases.
Dog safety clip/collar connector
These handy tools come highly recommended by many trainers for escape-prone pups. They consist of a small band made of durable fabric or metal chains, with clips at either end.
One end attaches to the leash (which should be clipped to the dog’s harness), and the other end attaches to the dog’s regular collar. This way, if the dog wriggles out of either their harness or collar, they will still be tethered to you. It’s not 100% foolproof, but it’s a good safety measure.
Helpful tips:
- Some include an adjustable slide to accommodate different attachment locations.
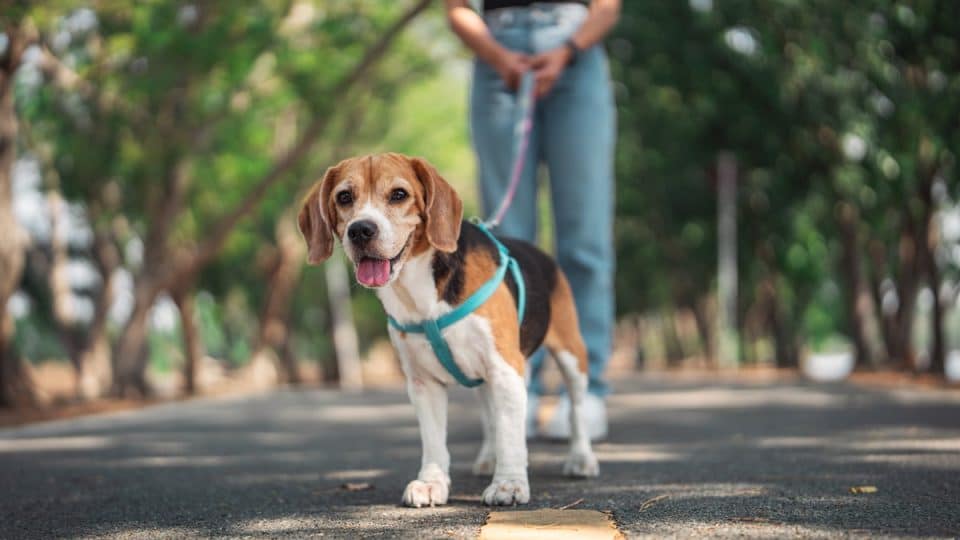
Leashes
Knowing which activities require certain leashes—and how to use them properly—can help set you and your pup up for a safe and fun outing. Here’s what you’re likely to encounter.
Basic leashes
Many of your Rover clients will use a basic nylon leash. Typically 6-feet long, these leashes keep dogs close during walks through busy neighborhoods while still allowing them some freedom to explore their surroundings. Before each use, inspect the leash for any signs of wear, like frayed edges or tears—especially if the dog tends to pull or chew.
Additional tips:
- Keep an extra leash handy in case you notice any damage to your client’s leash.
- For extra security, use your thumb or index finger as an anchor to loop the leash over and grip.
Hands-free leashes
Some clients may use a hands-free leash, especially if they run with their dog or frequently walk with a baby stroller or travel mug. These leashes feature a belt component that connects to the leash, and they’re often made with bungee material to absorb shock from sudden pulls.
Sometimes, these leashes can be worn as a crossbody lead or even used as a regular hand-held lead. You’ll also need to adjust the waist size to fit your body: it should be snug, yet comfy, like a fanny pack.
Additional tips:
- If you’re not used to wearing a hands-free leash, you may want to stick closer to home on walks until you become accustomed to how it works.
- Remember: Even with a hands-free leash, it’s important to stay alert and pay attention to your walking buddy.

alexei_tm via iStock
Retractable leashes
Retractable leashes give dogs the freedom to roam while remaining attached to their handler. The classic Flexi lead is the most common model and features a long, thin cord that’s wound up inside a plastic handle.
While they offer great flexibility, retractable leashes can pose dangers, such as snapping or causing friction. They’re safest with smaller dogs and in low-stress settings with minimal distractions, like a backyard or open field.
Additional tips:
- If possible, ask your client if you can use your own regular nylon leash for walks and save the retractable leash for potty trips in the yard.
Long lines
Ranging from 10 to 50+ feet, long lines let dogs explore freely while still offering owners some control. Before use, inspect the line for frays or breaks, and ensure the clip is secure and functioning properly. These leashes work best in safe, low-traffic areas where your Rover dog can wander without the risk of getting tangled up with other people or pets.
Additional tips:
- Attach the long line to the back of the harness to keep it from getting underfoot.
- Ask your client where they usually take their dog for long-leash romps.
Double dog leashes
Some clients with multiple dogs may use a double dog leash. These convenient tools consist of two leads attached to a single handle. They work best with well-mannered dogs who are familiar and comfortable with one another.
Additional tips:
- Before heading out, check both leashes for any signs of wear and ensure that the connection points are sturdy.
- If you’re walking dogs that don’t know each other, it’s safer to use separate leashes for each pup.
Leather leashes
Leather leashes can last a long time if cared for properly. Do your clients a favor and avoid submerging them in water during trips to the lake. Also, try not to forget them outside, as exposure to rain and sunlight can cause damage.
Additional tips:
- Inspect leather for cracks or fraying, and remove dirt and grime with a soft, dry cloth or gentle brush to slow down natural wear and tear.
Slip leads
Slip leads are a mash-up between a leash and a collar. The lead loops around the dog’s neck and tightens slightly when pulled, providing better control during walks or training sessions.
Slip leads work best in controlled environments, such as backyards or during training sessions. Unless the dog is impeccably trained, slip leashes are generally not recommended in crowded areas where distractions might be a concern. Used incorrectly, a slip lead can become aversive, so take care not to pull on the leash suddenly or aggressively.
Additional tips:
- Some models have a rubber or metal stopper that prevents the loop from tightening too much. Ideally, the loop should allow for two fingers to fit underneath.
- Placement matters—the loop should sit high up on the neck, just behind the ears.
- If the dog walks on your right, form the letter “P” with the lead and place it over the dog’s head. If the dog is on your left, form the number “9” with the loop at the top. This technique ensures the lead can open freely when tension is slack.
Aversive Gear
Aversive dog gear refers to training tools such as prong collars, shock collars, and choke chains that use discomfort or pain to discourage unwanted behaviors. These methods are controversial due to the potential for negative side effects like anxiety and aggression.
Some of your clients may use these types of tools, so it’s important to be prepared for how you’ll address this. Remember, you should never feel obligated to use gear that makes you uncomfortable. Set boundaries that align with your beliefs about pet care.
Wherever you stand on the issue, it’s important to communicate this with clients up front. Discuss any gear restrictions in your initial messages or during the meet-and-greet. You can also include this information directly on your sitter profile to set expectations from the start.
Safety should always be your top priority. If you agree to use mildly aversive gear upon request, make sure you know how to use it correctly. If you’re unsure, review instructions with your client beforehand.
Tips & Troubleshooting
Make it a habit in your pet-sitting practices to ensure each of your Rover dogs’ gear is safe and effective. Here are some harness and gear tips to help keep everyone happy and safe.
With new clients:
- Familiarize yourself with new walking gear before using it. The meet-and-greet is a good time to go over how to put on, fit, and use equipment. Don’t be afraid to ask clients how something works—it only demonstrates your commitment to their pet’s safety and well-being.
- Flag any gear you’re not comfortable with. Let clients know if there are any tools you’d rather not use. This could include aversive gear, retractable leashes, long lines in urban areas, or complicated double leashes.
- Have backup gear on hand. Consider getting a 6-foot nylon leash and a standard flat buckle collar for emergencies.
Before every walk:
- Inspect gear for damage. Check for signs of wear and tear that could compromise the dog’s safety. Look for fraying, loose stitching, rust, and tears. If there is major damage, you might have to swap tools with a suitable replacement.
- Check the fit. Always ensure that a dog’s harness and collar are snug yet comfortable. With most, you should be able to slide two fingers underneath. The exception is a head collar, which should allow only one finger between the strap and the dog’s body.
- Check for ID tags. Before heading out, always check that your Rover pup’s collar has their ID tags properly attached and displayed.
During and after walks:
- Check for signs of discomfort. Restricted shoulder movement, chafing, red marks, or fussing with gear could indicate the equipment is too tight.
- Cut walks short, if necessary. If something feels off with the gear while you’re out, don’t hesitate to head home early. Remember, dogs may be comfortable using gear with their guardian, but could feel differently with you.
- Keep gear clean and intact. Rinse gear with water after exposure to dirt or saltwater. Use mild detergent and air-dry items to maintain their durability. Your clients will thank you!
- Practice collar safety. Remove collars before crating a dog to prevent injuries. Otherwise, keep collars on at all times.
Remember, if a pet escapes or gets injured under your care, we’re here to help. When you contact Rover, we can provide guidance and offer assistance from partner organizations that are experts in pet safety. We’re here 24/7 at 888-727-1140.