Dogs are naturally better equipped for winter than humans—with fur coats and all-terrain paws—but snowy, icy winters can cause quite a bit of damage to a dog’s paws.
Water can freeze between the paw pads, creating balls of ice that damage the foot. Salts and de-icing chemicals can burn the pads and pose health risks if your dog licks her paws after a walk. And the cold, snowy ground cover can cause drying and cracking.
Thanks to the ultra-convenience of modern life, you can now outfit your dog in booties to fully protect her paws during cold winter months. Some dogs, however, may refuse to walk in boots. If your dog is a boot-avoider, try a wax or balm for protection.
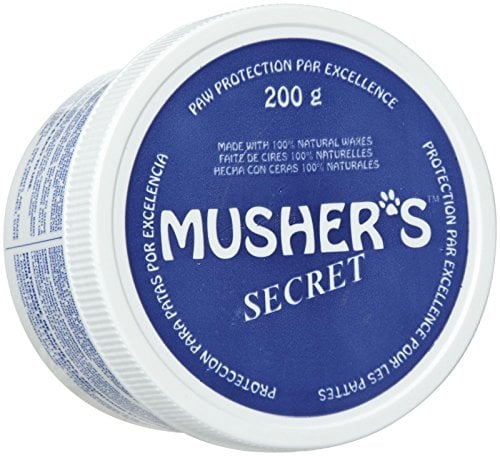
You can certainly find paw-protecting balm in pet stores and online boutiques, including the popular Musher’s Secret.
The ingredients for making these balms, however, are quite affordable and relatively easy to find—so if you want to DIY, go for it!
We’ll share a few make-your-own paw-protection remedies—balms and rubs you can easily concoct yourself. But first, let’s talk about basic paw procedure to winterize your pet’s four legs.
Important Grooming for Winter Paws

Flickr / @zackary.wilkins
- Carefully trim longer hair between the paw pads and around the edges of the paws. Without a proper paw-cut, longer hair will drag through puddles and collect cold water. This begins to freeze, harden, and accumulate between the paw pads, forming ice balls that cause injury and abrasion. The fur on the paws can also collect salt and de-icing chemicals you want to keep out of your dog’s mouth and stomach if she wants to groom herself later!
- Make sure to keep your dog’s nails trimmed in the winter. Longer nails will allow more space between the paw pads, where ice can accumulate. You want to keep nails short so that paw pads can make maximum contact with the ground during walks.
- Once you find a balm you and your dog like, apply a thin, even layer to each paw before going out for a walk. Once you return, wipe the paws with a warm washcloth to remove snow, ice, debris, and chemicals. Then apply a second layer of balm to prevent the paws from drying out or cracking.
How to Make Winter Paw-Protection Balm at Home
This video covers key ingredients and simple steps for creating your own balm. (It’s really as easy as: blend, heat, mix, pour, and cool.) Why not make a big batch and share with your dog-loving friends?
Main Paw Protection Balm Ingredients
- The base ingredient that most recipes share is beeswax, which provides an important protective layer that insulates paws from cold and moisture.
- Another key ingredient is often coconut oil, which adds moisture but also contains antiviral, antifungal, and antibacterial properties.
- Calendula oil comes from the marigold flower. It’s known to possess healing and anti-inflammatory properties, making it perfect for skin that’s subject to the elements.
- Avocado oil is a great thing to have in your kitchen, and in this case, it helps moisturise the skin.
Other DIY Recipes for Winter Paw Protection
You can certainly find other variations for homemade paw remedies, but they don’t vary radically. Most recipes call for beeswax, some sort of fatty oil, and shea butter.
This enhanced concoction from Joybilee Farm includes some of the base ingredients covered—beeswax and calendula oil—but also includes:
- Shea butter for moisturising
- Carnauba (palm) wax for a strong protective barrier (but this can be more difficult to find in its natural form)
- Vitamin E, which is used in many skin lotions for humans
- Two essential oils—rosemary and lavender—which contain antifungal and antimicrobial properties
You may need to invest a little in supplies up front, but your stockpile will go a long way and allow you to produce homemade paw remedies for many winters to come. You’ll also have plenty to share with neighbours, friends, and family.